
So far in this series, everything we’ve looked at has focused on the cheapest and easiest possible means of broadcasting: obtaining your technician license, buying its first low-end portable transceiver, and inspection of local networks repeaters. It’s all nice and there’s a chance you can really take all three steps and still have a change in your $ 50 bill. Like I said, amateur radio doesn’t have to be expensive to be fun.
But at some point, any new ham will long for this first “real” platform, something a little more elegant in terms of power and maybe a few more features. For many technicians, the obvious choice is a mobile platform, something that can be used to chat with colleagues on the way to work or to spend time while traveling for a long time. Whatever your motivation, once you buy a radio, you have to install it, and there are plenty of challenges, both electrical and mechanical.
I recently jumped on a mobile platform, and while the radio and antenna were an order of magnitude more expensive than $ 50, the process of installing it was quite inexpensive. But in this series, the price of the thing is not important; rather, to show that the ham radio is about doing it yourself, even when it means tearing your car from the inside out and rebuilding it around the radio.
Platform selection
Whatever radio you buy will depend entirely on how you plan to use it. Technicians will probably want a two-band radio that covers 2-meter (VHF) and 70-centimeter (UHF) bands, which will give you access to local repeaters. Features and quality vary by brand, but if you stick to one of the “Big Three” – Yaesu, Kenwood and ICOM – you will get good value for money. Probably Alinco also belongs there and you can find decent mobile platforms that are more powerful versions of the much ridiculed “cheap Chinese comfortable buckles” that are available for no more than $ 50.
It was my choice Yaesu FT-8900R, already discontinued four-band radio. In addition to the usual UHF and VHF tapes, the 8900 also has 6 meters, known as the “Magic Tape” because it can work in so many different ways, and 10 meters, which offers some interesting options for simplex, without repeater, communications. Technicians have access to the entire 6-meter strip, but only a small fraction of 10 meters, and then only using one-sided voice. The FT-8900R is a FM transceiver only, but since I have a general class license, I can use it on the 10-meter band. The radio can also be set up as a cross repeater, which has some interesting features for me.
Almost all FM mobile ham devices nowadays are digital and many of them support one or another of the digital modulation schemes, such as System Fusion and DMR. Many of them have support for the built-in automatic packet reporting system (APRS), which allows you to automatically report information such as your GPS location. Manufacturers have responded to the market by offering as many or fewer bells and whistles as possible, so whatever you want, there’s a chance someone will do it. Strangely, mobile platforms are the only area of ham radio where there is not much home brewing, although there is an active community that is reconfiguring the old UHF and VHF radio radio to use ham. But most people just buy a well-designed COTS radio and use the installation to express their creative creativity.
Installation planning

And let me tell you, modern cars and trucks require a LOT of creativity and ingenuity to achieve a clean, professional installation. I started doing mobile installations many years ago, when cars had a lot more metal in them and a lot less electrical components and wiring harnesses. Back then, it was easy to find reliable ground, and you never had to go around with airbags, seatbelt pretensioners, and infotainment components. Modern cars are much more challenging to perform installations, but they are also a lot more fun, as you have to marvel at the skills of engineers who design pieces that can be assembled quickly with minimal tools and then you curse their names while trying to disassemble something without visible fasteners.
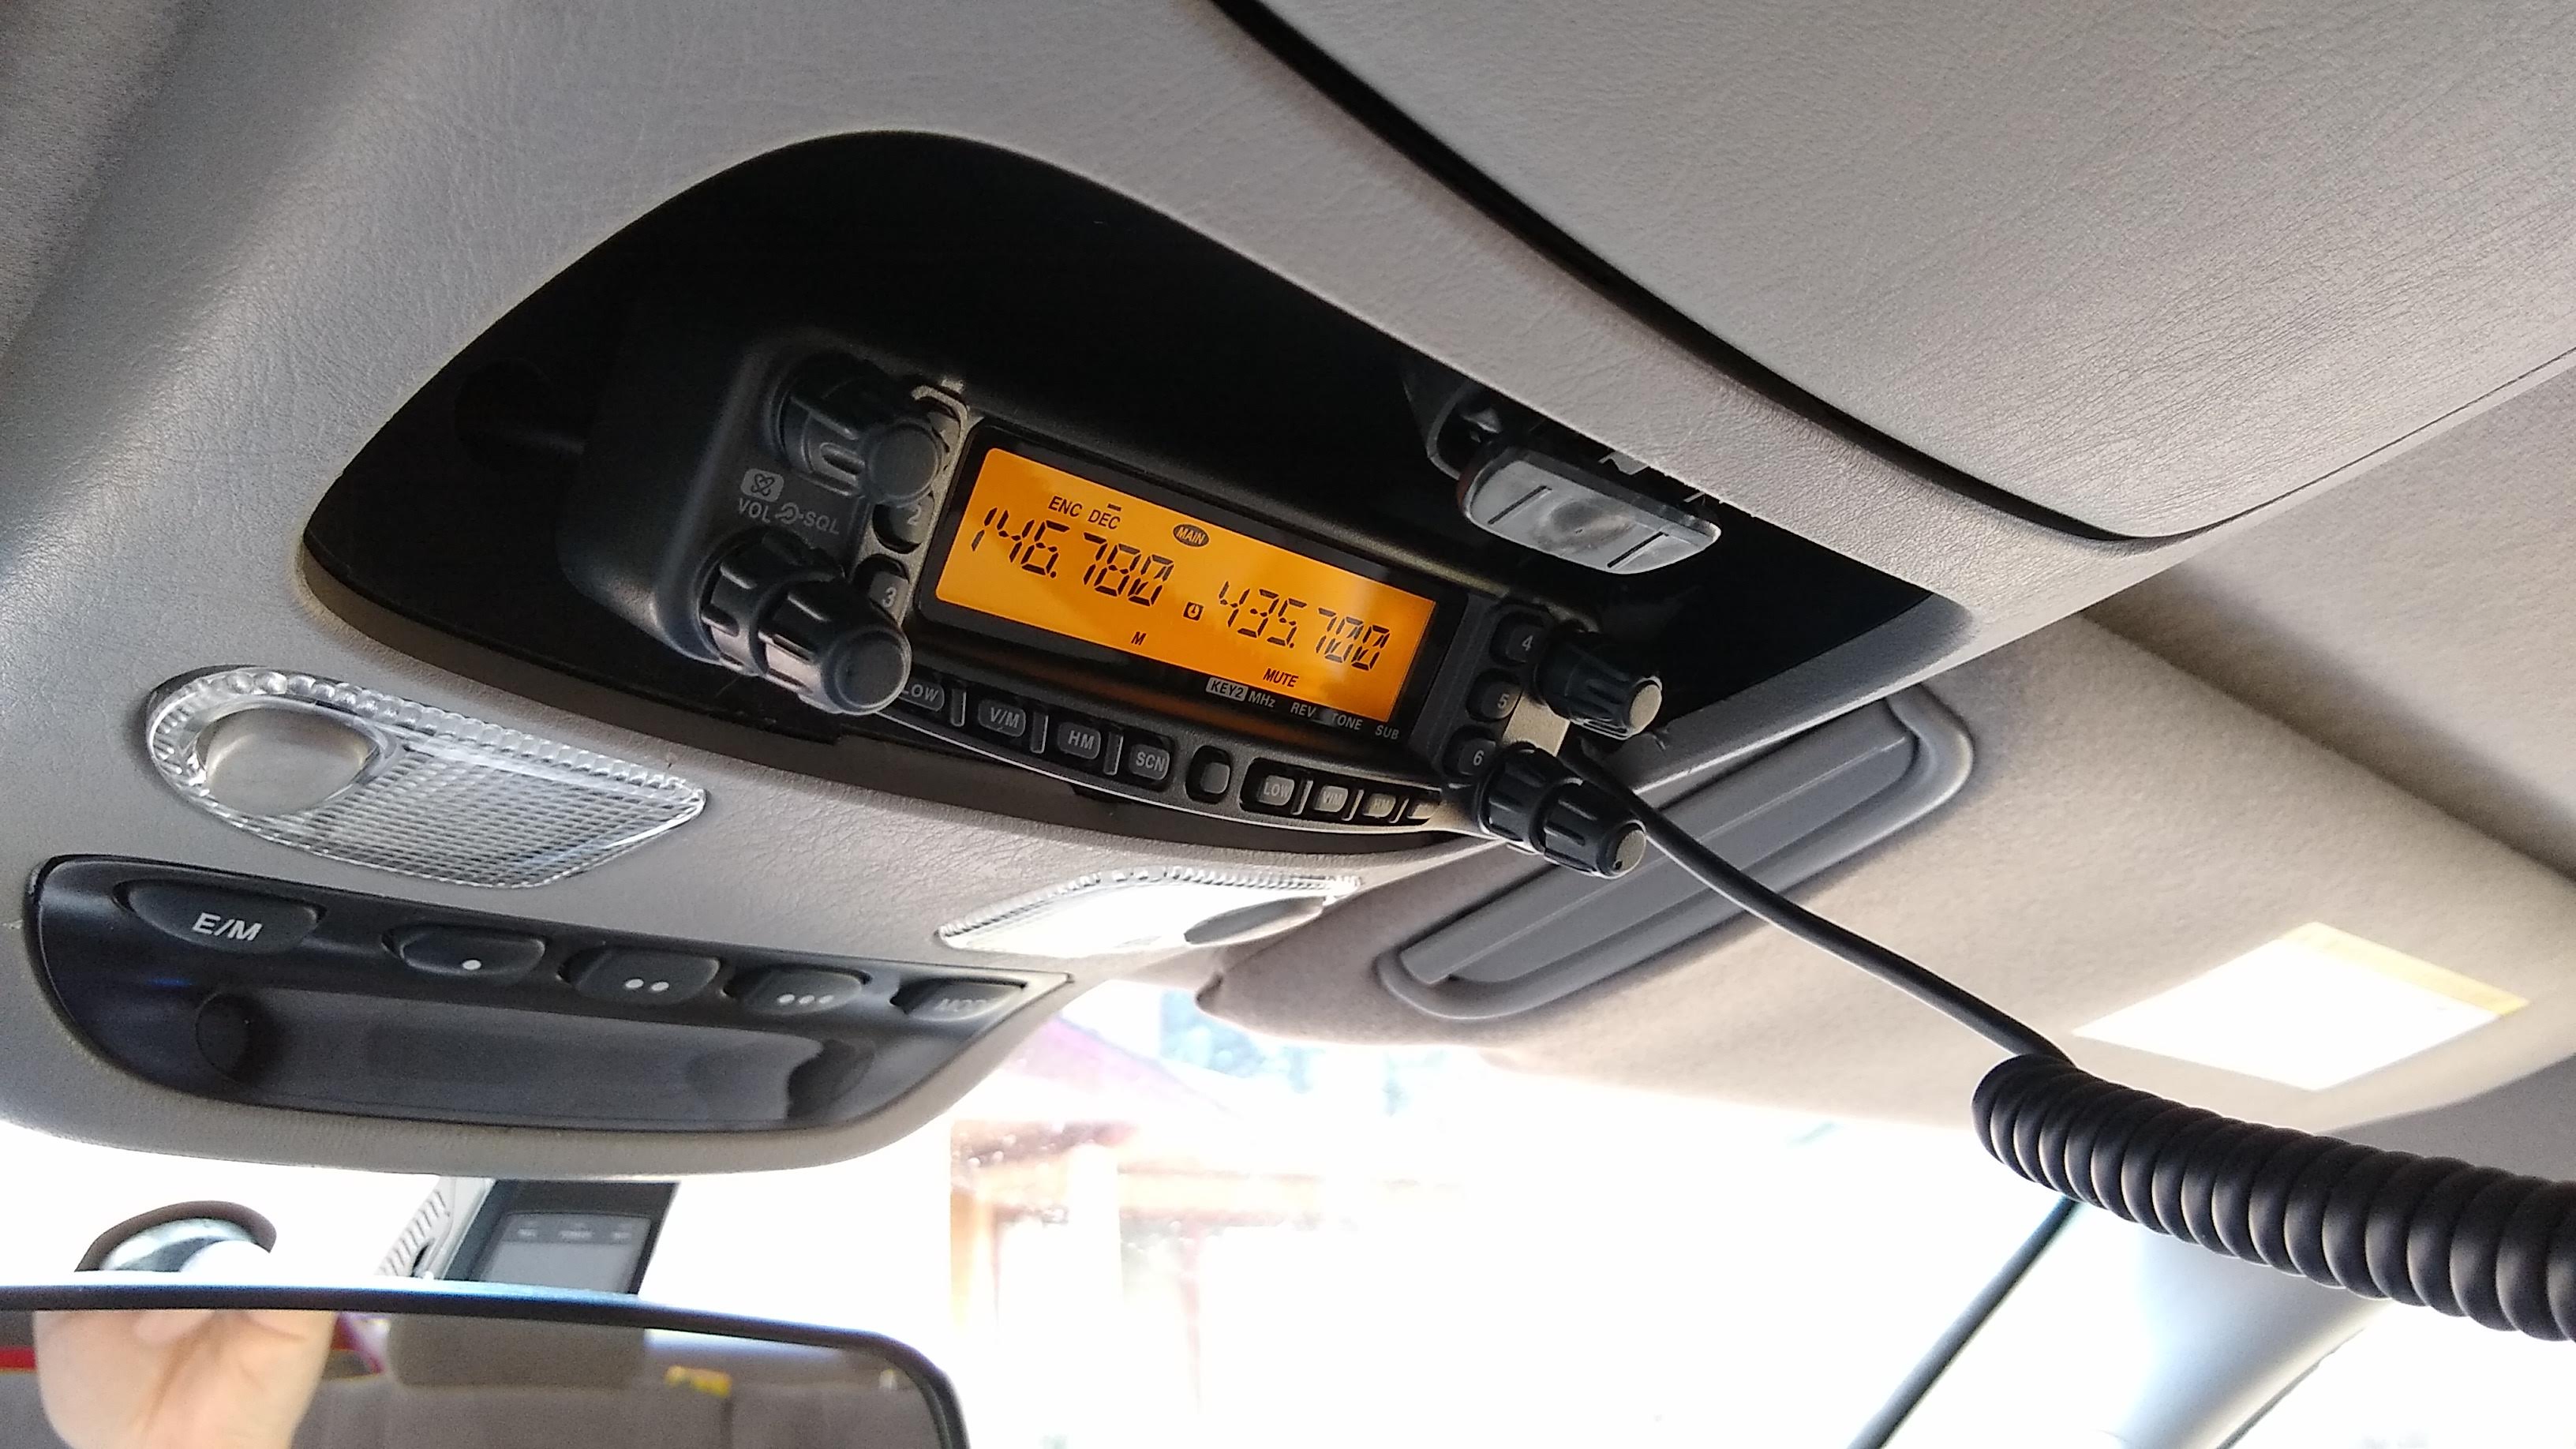
Planning your installation is probably the most critical step. Many mobile platforms come with detachable faceplates, so the radio itself can be mounted in the trunk or installed under a seat, while the control head with display and microphone can be placed where it is easy to use. This is a huge bonus when installed in a modern car, where the possibilities for placing a large one-piece radio are limited; the small control head is much easier to get stuck somewhere and still be usable. In my case, I decided to remove one of the top storage containers in my 2004 Toyota Sequoia and install the head in its place, while the radio itself would go into one of the side pockets on the way back.
Once you plan where the parts will go, you will need to understand how and where to run the wires. Ham devices absorb a lot of current – 7 to 10 amps during transmission is common – and they require a direct switch to the vehicle’s heavy-duty wire battery. Don’t ignore this and try to touch something under the dashboard, as we did to install a stereo system after launch. Find a plug or ring in the firewall and do it properly. Fuses are required. You don’t want a 12-gauge wire running through the car to act as a fuse when something breaks. Ask me how I know.
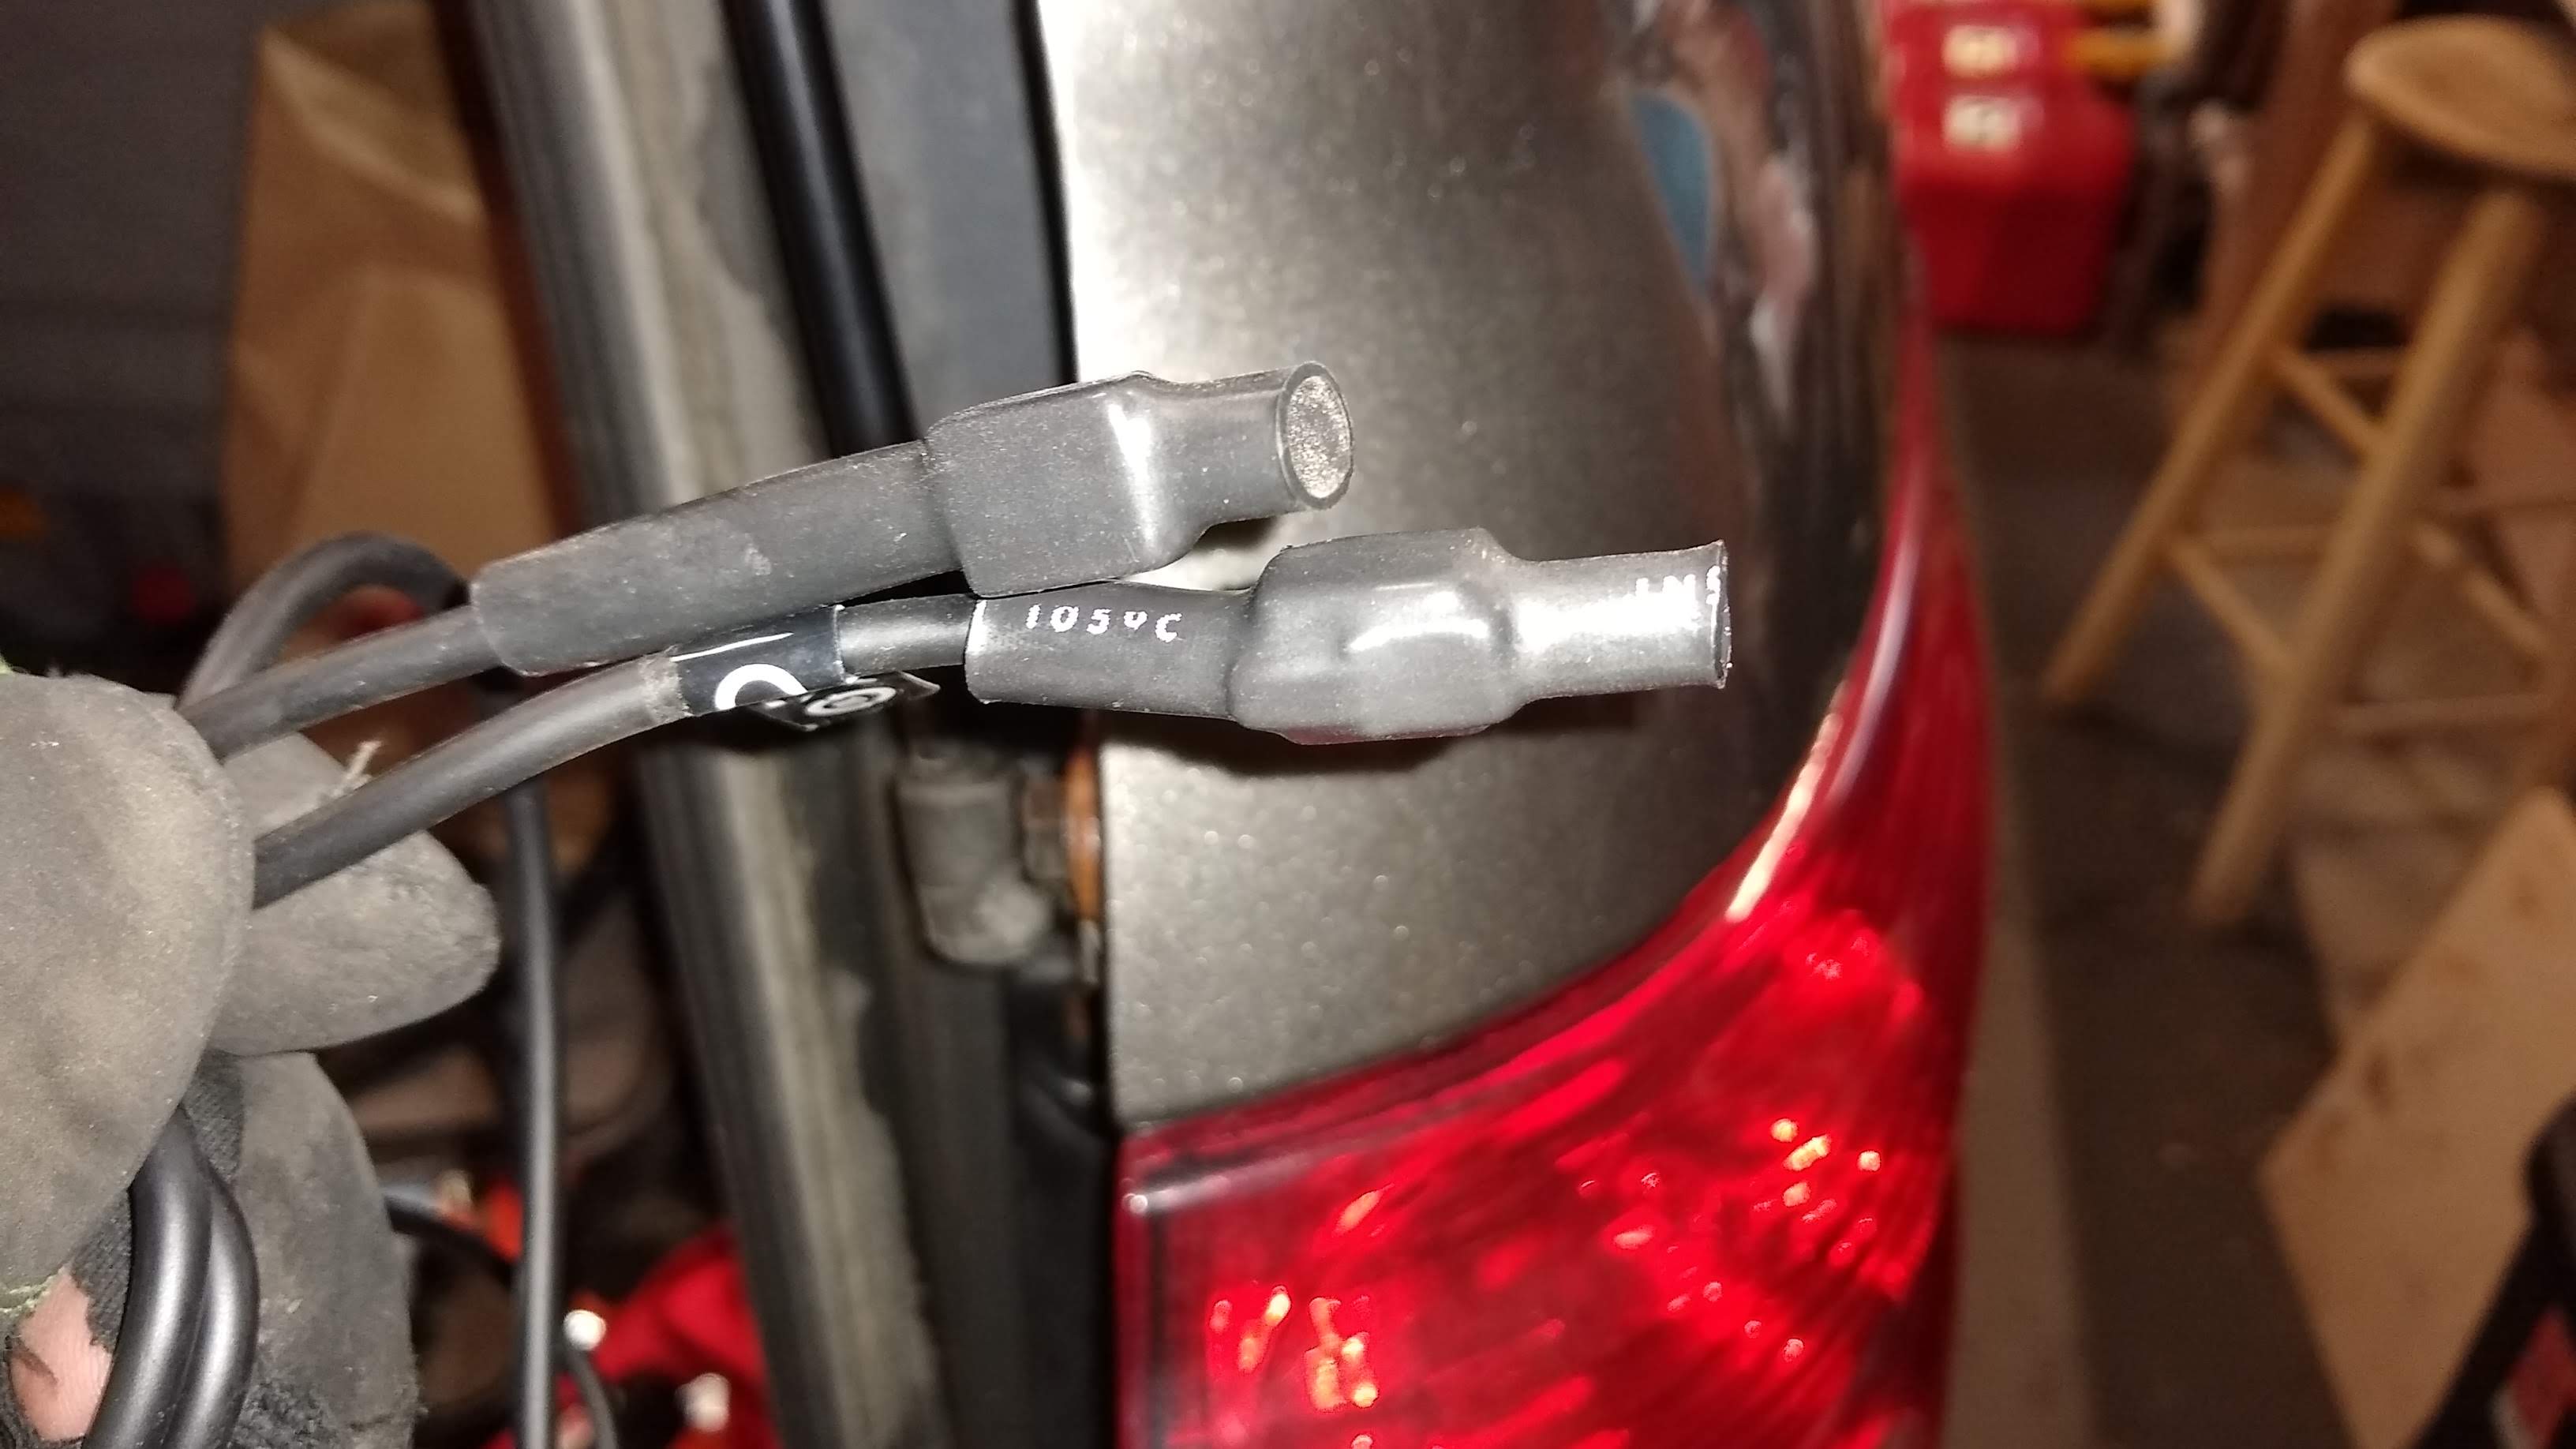
The physical protection of the supply wires – all wires, in this sense – is also really important. Spend a few bucks on a corrugated plastic loom and wrap the wires, especially where people are likely to step on or kick them.
Cleanliness counts
The good thing about modern cars is that there are many hidden places for wiring. The bad thing is getting access to them. Almost every plastic cover in the car is secured in place with some kind of plastic clasp that is as likely to break as it is to be released cleanly. Invest in a set of upholstery removal tools; they will give you a better chance to release these fasteners without breaking them or breaking the finish of other pieces. Still, count on a 50% failure rate at this stage.
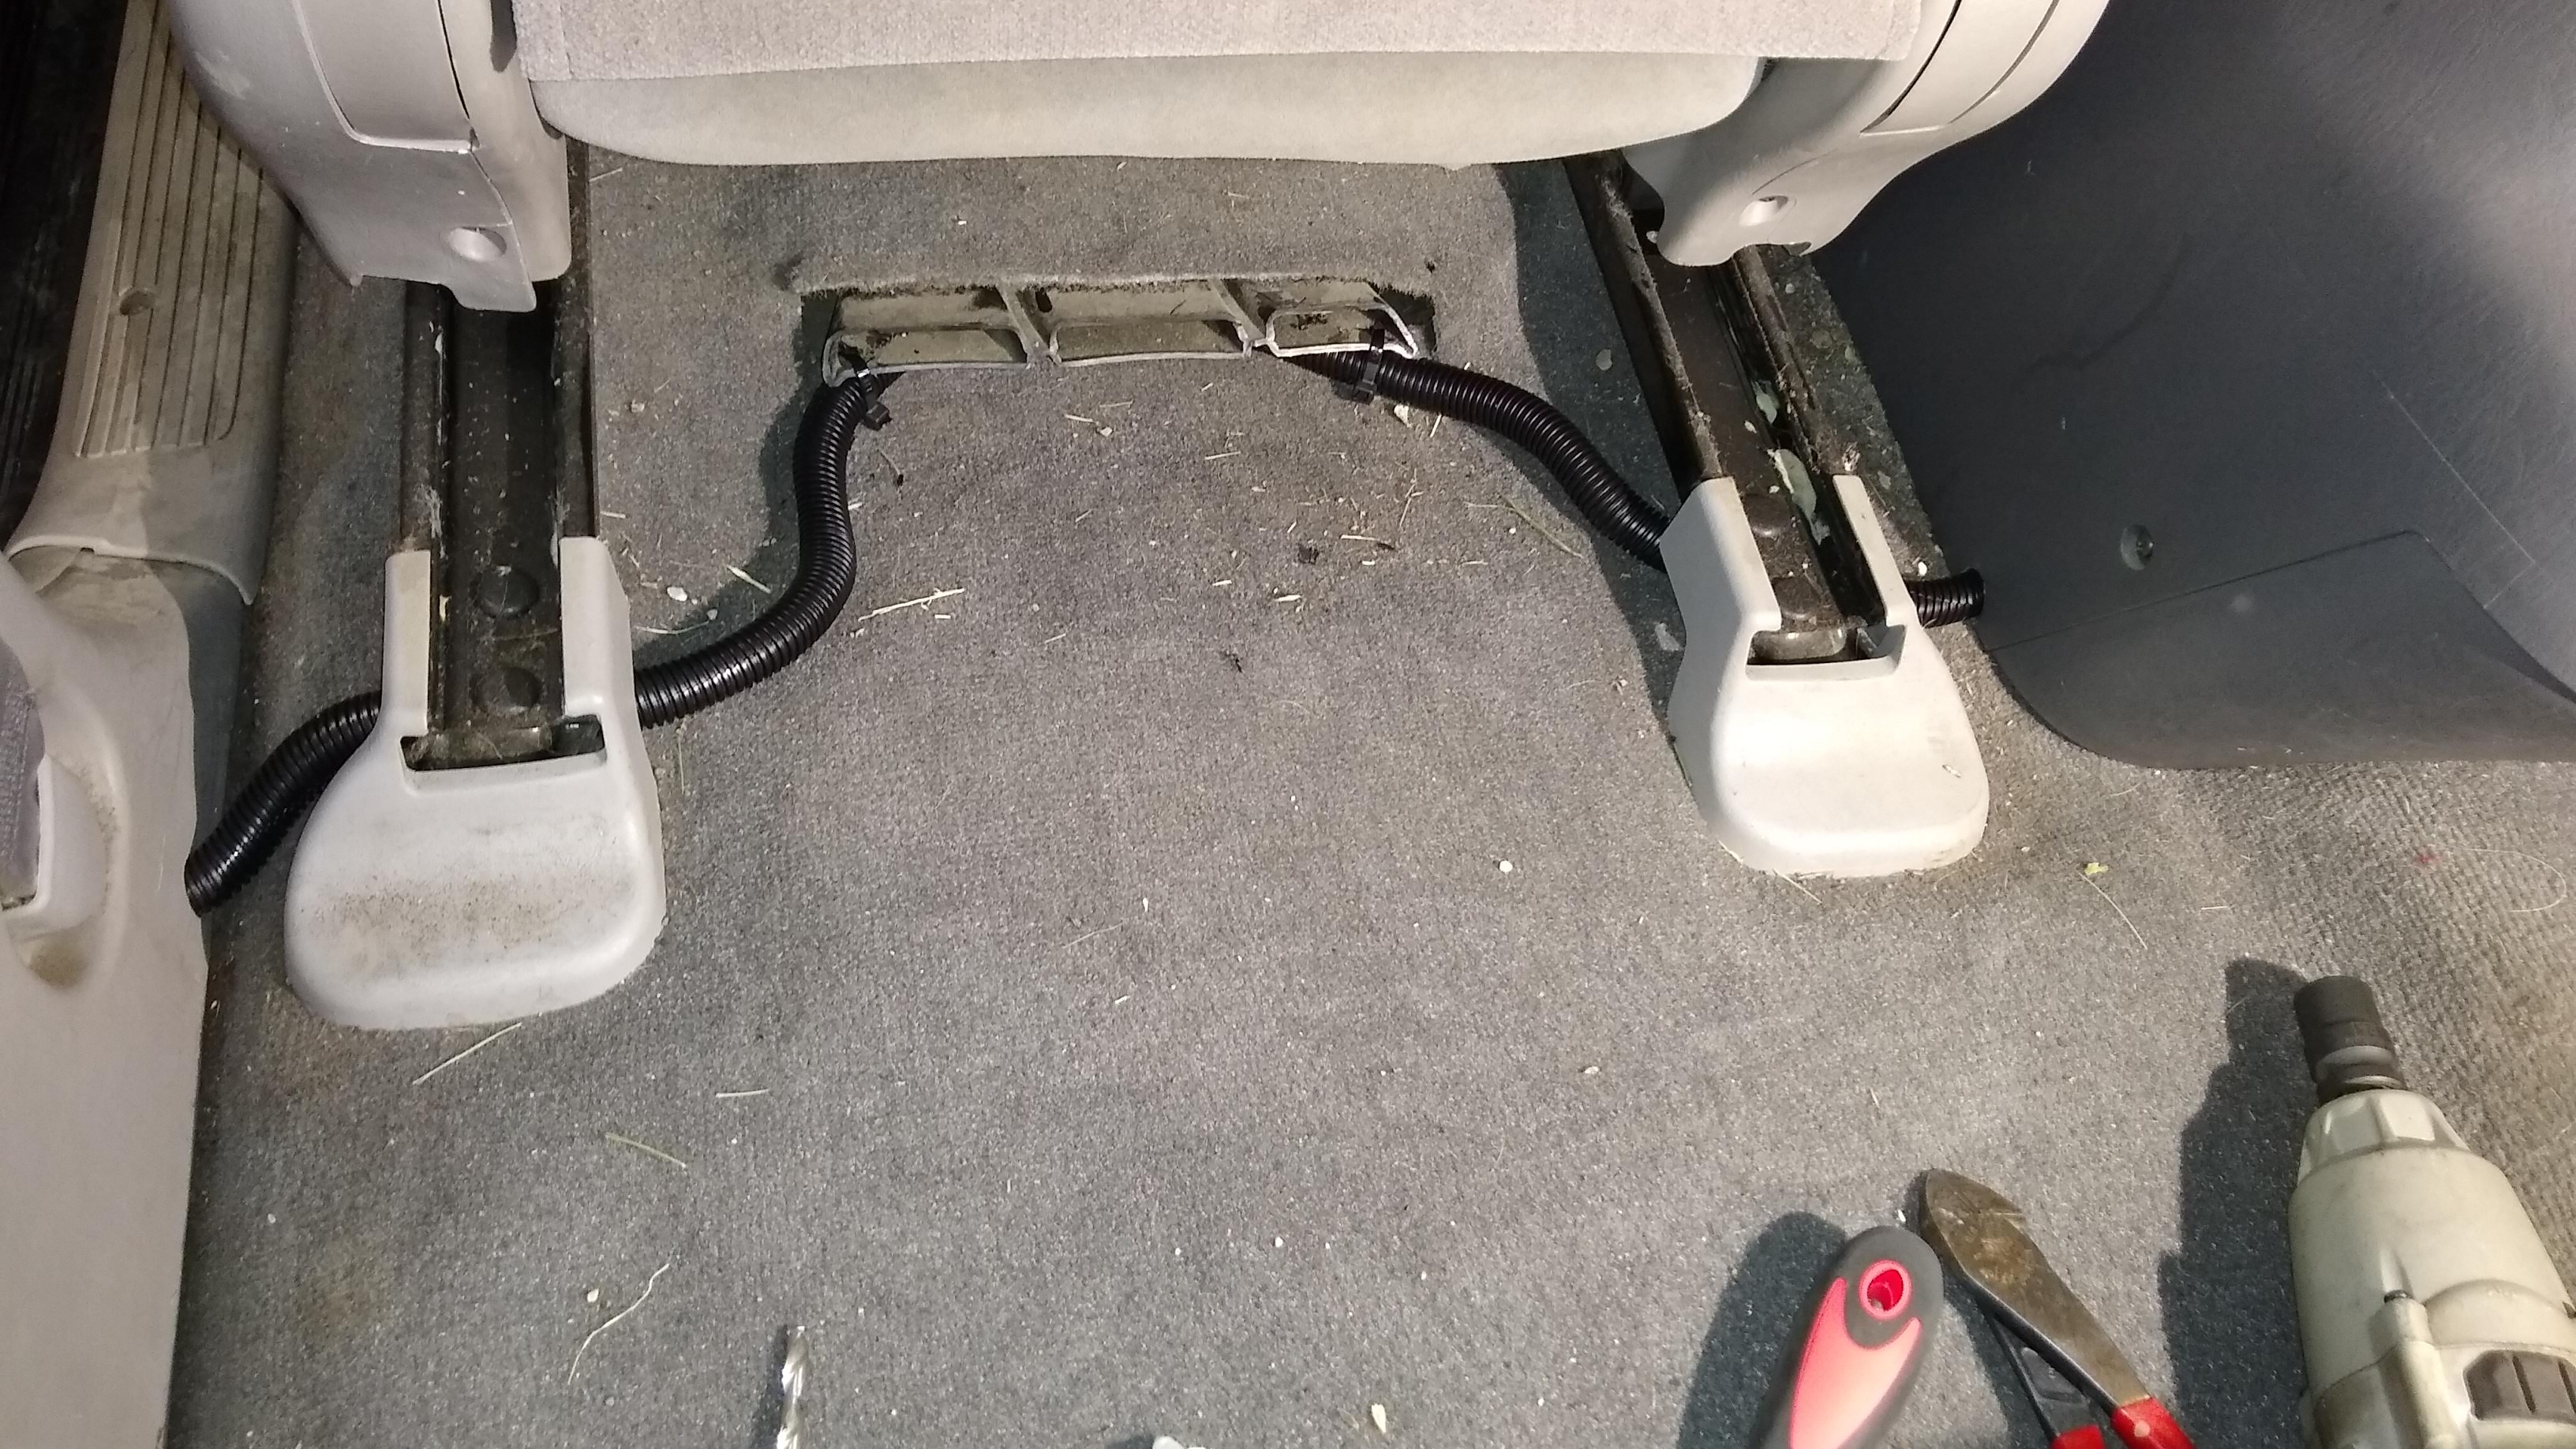
I was able to run my wires quite easily. The wire for the control head passed through the cladding to the lining of the pillar “C” (the third pillar of the roof in front); while the power cords and remote speakers went under the rear door sills and under the driver’s seat next to the center console. I was lucky that I had previously installed an inverter in the console and so I already had very large dimensions. However, I made sure to lay the cable cables on the radio correctly and to use good crimp connectors installed with a suitable crimping tool. I also made sure the fuses were easily replaceable.
Next time
Probably the most critical task in any mobile ham installation is to deal with the antenna. Not only do you need to specify a suitable antenna for the job, but you also need to install it. This can be as simple as removing the magnetic base and screwing in the antenna or triggering washers such as taking a saw for drilling and drilling through your roof. And even then there are other tasks, such as tuning the antenna, testing the installation and mitigating the noise caused by the car itself. All of them can be challenging tasks and we will cover them in the next installment.