
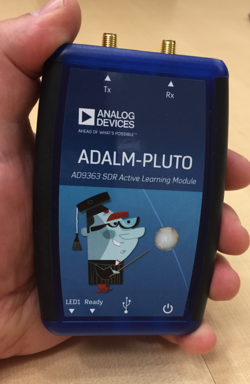
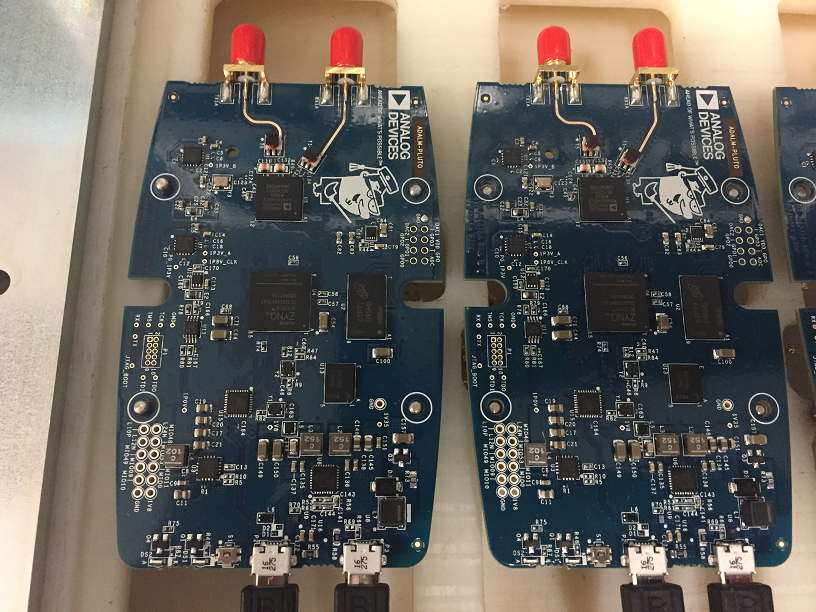
Many of the SDR projects we see use a cheap USB key. They’re great, but sometimes you want more and – especially – sometimes you want to transmit. ADALM-Pluto SDR The analog SDR is easily available for $ 200 and sometimes up to $ 100 and transmits and receives using the Analog AD9363 and Zynq FPGA. Although you typically use the device to transmit IQ signals to a host computer, you can run SDR applications on the device itself. This requires you to delve into Zynq’s tools, which is fun, but a topic for another time. In this post, I’ll show you how you can use GNU Radio to make a simple Morse code beacon in the 2-meter ham bar.
I’ve had one on my bench for a long time and I’ve played with it a bit. There are several ways to use it with GNU Radio and it seems to work very well. You need to hack it to slightly reduce the frequency range. Of course, it may not be “specified” once you extend the frequency range, but it seems to work well. Instead of operating from 325 MHz to 3,800 MHz with a 20 MHz band, the hacked device transmits 70 MHz to 6000 MHz with a 56 MHz band. it is ordinary hack you only have to do it once. It tells the device that there is a slightly better chip on board and we assume that the chips are the same but sorted by performance. So while the specs may be a little off, you probably won’t notice.
Preparation
Of course, if you want to use it with GNU Radio, you will need input and output call blocks. There are also several choices. Analog Devices supports two different sets of blocks. The one that looks older is the PlutoSDR block, but the IIO blocks look newer and support a bunch of devices.
Unfortunately, building these blocks can be painful. I had no problem using the released version with GNURadio in Ubuntu repositories. But when I switched to the new edition candidate, I couldn’t get him to build. It looked like I would have to manually create some libraries for everything to work, so I just settled on the older version in the repo.
Change the same
For the receiver, if you have IIO or Pluto blocks built in, this is almost the same as you would with any other SDR receiver. Of course, there are some oddities. For example, because the device is connected via a network, you must provide a connection string. If you can ping pluto.local, you can use “ip: pluto.local” as the name. If you do not have mDNS set up, you may need to use the IP address of the box.
Everything else is the same. You will want to respect the minimum and maximum sampling rate, of course (see detailed specifications). If you set the winnings automatically, you will receive errors when trying to set the winnings manually. You will also get them if you set the gain above the limit, about 70 dB.
Of course, the difference between Pluto and your garden variety SDR switch is that it has a transmitter, but if you know a little about the radio, you won’t find the transmission very confusing. IQ enters and exits a very low level of RF.
Lighthouse for Pluto
I decided to assemble a lighthouse in the Morse code for the two-meter strip. I’m an amateur radio and the beacon will send my call sign, it’s perfectly legal. It turned out to show a lot of nuances of how GNURadio works.
You can find grc file on GitHub. You will notice that the transmission is quite simple. There is, of course, a radio frequency receiver and a rational converter to convert the CW tone from a 32 kHz sampling rate to the higher sampling rate used by the sink. Pluto can only accept certain sampling frequencies, and there is no point in generating a side tone at high sampling frequencies, so the resampler converts the lower sampling rate to the higher frequency. You can think of the new sample rate as interpolation*(old_sample_rate/decimation).
The real trick is how to get the Morse code you want to send to modulate the sine wave. There are probably many ways to do this, but I used a vector source. I must admit that I raised this idea [argilo] who has a lot Examples of GitHub SDRs.
Vectors
Although newer versions of GNURadio have other mechanisms, generally everything in GNURadio is a stream. So I needed a stream that looked like the code I wanted to send. The source has a stream, where 0 represents silence and 1 represents tone. So a single 1 is a child and three in a row make a dash or a dash. The zeros are combined to make spaces of different sizes. Now there are two problems. Getting the right course and outputting vector data is surprisingly annoying.
Determining the interest rate is easy. The vector source gives you a sample each time someone receives it, which amounts to the sampling rate. However, a figure of 1/32000 gives you about 31 µs, which is quite fast. The repeating block interpolates the samples. All this means that for each sample it repeats it a certain number of times before receiving another sample from the vector. You can adjust the speed by changing the interpolation.
The formula for the length of a code element in seconds is about 1.2/speed where the speed is in words per minute. There is a GUI widget for speed selection. The formula in the iteration block is: int( samp_rate*(1.2/speed)). Just keep in mind that slowing down also increases the delay at the end of the message.
This means that a single 1 in the vector is converted into a bunch 1s at the output of the repeated block. Multiply the sine wave by these 0 and 1 and you’re done. This still collects the data.
Lazy
C code allows you to change what you set for code elements and spaces. This is a simple program without unnecessary work, but it does the job. You can redirect a file and redirect the output file, as there are no command line options.
Manually add a bunch of zeros at the end to separate the beacon. It may be a good idea to add this to the program so that you can specify a gap in seconds and a sampling rate and have it add the correct number of zeros. If you make this change, remember that the sampling frequency is divided by the repetition rate of the block.
Side tone
I decided I wanted the audio to come out of the speakers during transmission. There are at least two ways to do this. I could use another signal source to generate the tone and close it with a flow of 1s and 0s. However, since the modulating tone is already at 1 kHz, it made sense to just direct it to the audio. The sophisticated to real unit sets things up to go to an audio sink that connects to the sound card. I set a fast multiplication constant that multiplies the tone by 1. This would allow you to control the volume, but I just wanted to mute it so that the GUI widget can change the constant between 0 and 1.
In use
If you want to try this, you need to change my beacon sign. You will also want to choose a good frequency that is not used in your area, although the exit from Pluto is quite weak and is unlikely to interfere with a repeater that is not within walking distance.
If you play the graphics, you will hear a beacon side signal from the speakers on your computer. If you have an FM receiver, you should also be able to hear the beacon on the radio if you bring the antennas closer together. Since the sound tone is on and off, you may want to reduce your noise reduction all the way to hear the full dot or dash, as the noise will usually be interrupted a bit at the front end.
The user interface is ugly, but can be made nicer with graphical interface hint fields and a little attention. If you haven’t used them before, check our GNURadio tutorial series.
I got tired of the beacon that always transmits when I just wanted to work on the code part of it, so I added another multiplication and a device like an on / off switch so that the output to the transmitter can be forced to zero without stopping the side tone.
The truth is that the beacon would be better if I did a little ripple on the modulating pulses, but for this low power beacon this is not a big deal. You may also want to change the CW distance to be more preferred by you, which is easy to do with program C.
Value
For experimentation, Pluto is great. I probably wish it could be tuned below 30 MHz. However, if you plan to use it for ham radios, you’ll probably want some output filtering and some amplification. The small antennas offered will also do nothing practical.
If you want more about GNURadio, we’ve done it some videos for using it you may like. Note that you can use it for audio signal processing, too.
The hardware photos in this post are from Wiki for analog devices.