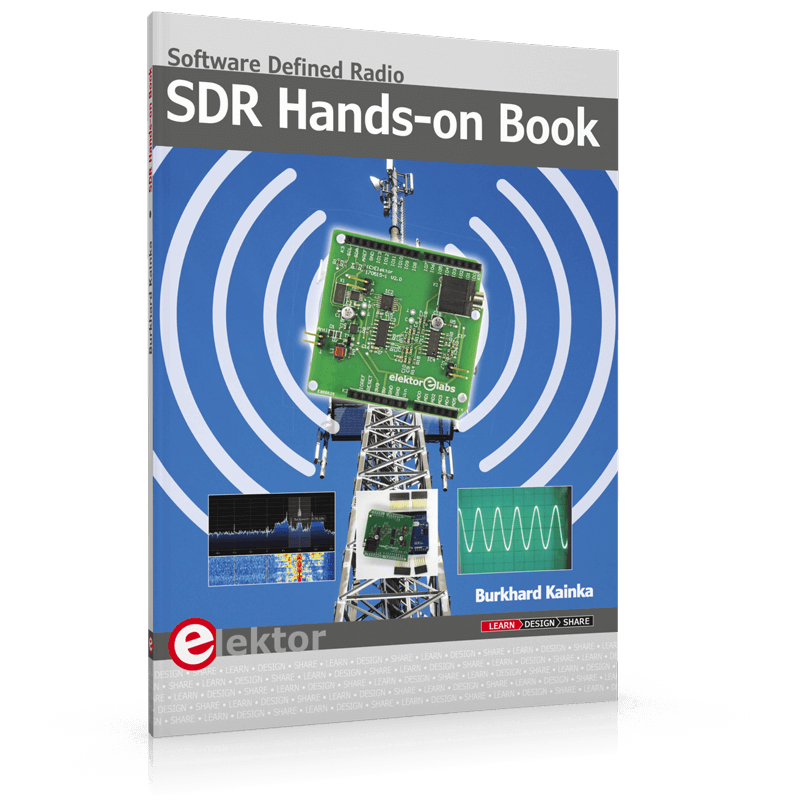
Author Burkhard Kainka’s inspiring Foreword in the book I’m reviewing here has important clues as to why software defined radio (SDR) is a hit not only among existing radio amateurs. SDR has proven to be a great promotion tool for the declining radio hobby in general. Since the tuning and decoding of shortwave radio signals is now done with a minimum of hardware and powerful (free) software, it’s easy to see why newcomers to the radio hobby and others with “DC minds” or with “deep fears of RF” have were totally captured by the concept of SDR.
The days are gone when shortwave radio building was black magic with complex coils, RF parts and specialized construction techniques – these days all you need is a simple RF frontend board with an IQ mixer, and .. yes… software, usually running on a laptop with a quality sound card built in. All of the ‘brains’ of SDR is vested in software.
Author Burkhard Kainka is not only a prolific writer, maker, project designer, and kit supplier, but also a radio ham with callsign DK7JD. That should provide a clue that his book does not swerve off the easy way towards dry software discussions only, meaning endless screendumps and code listings. Instead, due attention is given to real-life aspects of shortwave reception, like combat noise where it’s most effective: at the antenna side of things.
An Arduino shield for IQ mixing
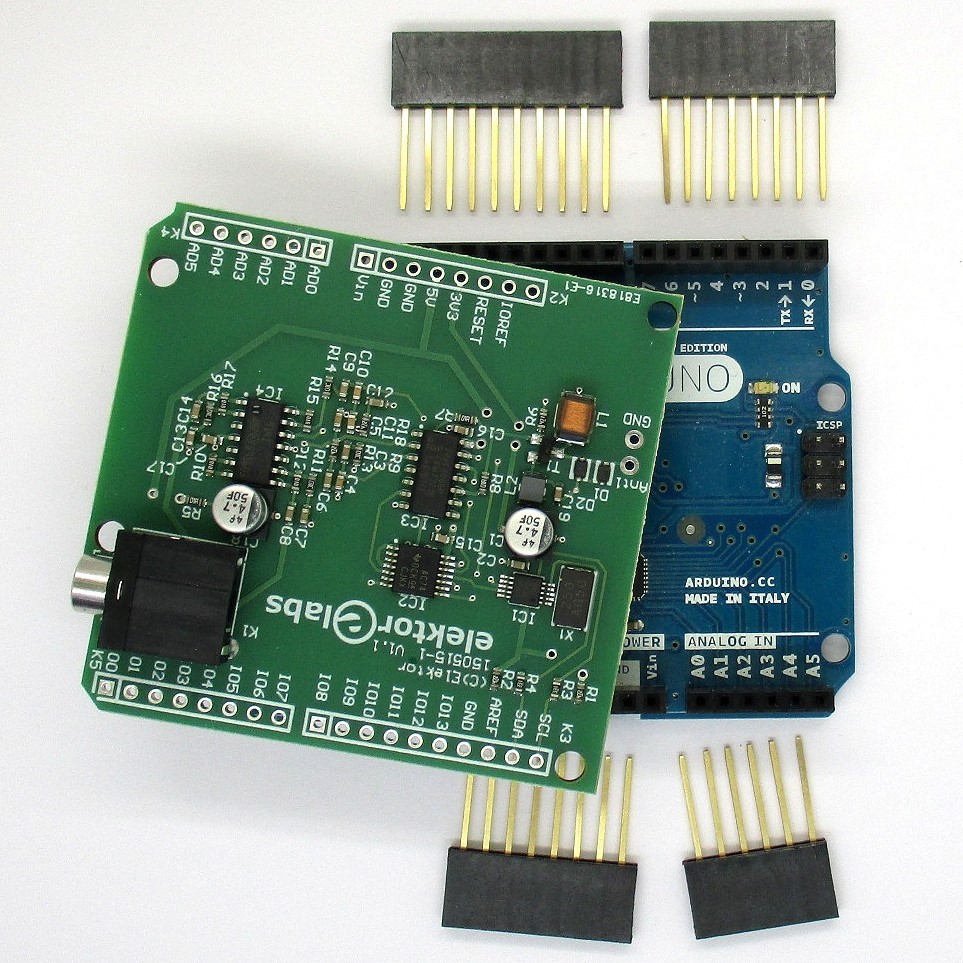
The correct order of working your way into SDR is: (1) do the hardware and understand it, (2) run the software. The book therefore first presents a shield (plug-on board) for the Arduino Uno. I’m showing the pair here, both ready assembled and as a “kit”.


Again following an order I like best as it creates reader confidence, the author discusses the schematic and theory of operation of the SDR shield in some detail. The core component on the shield is a SiLabs type SI5351A PLL chip (phase locked loop). The Arduino itself has not much to do: it simply receives (serially) the desired frequency from the laptop and then adjusts the VFO circuit on the shield accordingly. The program executed by the Arduino is available in the software archive on the book’s support web page. This “sketch” is extremely well documented and explained, also in the book.
Back to hardware: the RF input stage on the Arduino shield is a source follower using a JFET type BF545B, the SMD equivalent of the famous BF245B. Overvoltage protection is included using two anti-parallel diodes to ensure that the input stage is not damaged by electric discharges. This is a wideband input for sure (aka a barn door) and the author rightly advises the use of external filters and preamplifiers for critical tasks.
Optionally the Elektor LCD shield can be plugged on top of the SDR shield, as shown here:

This configuration can be used to display the current SDR frequency, and also doubles as a measuring instrument. Cheap and handy, and it gives the Arduino a little extra to do!
Chapter 2 then continues with the installation procedure for one of the oldest, free, and still best of SDR software packages: G8JCF. The maker, Peter Carnegie, already introduced it back in 2007 in Elektor magazine and it was a blockbuster at the time. Since then the program has been constantly expanded and improved. Remarkably, and showing the power of shareware for makers, the program automatically loads the appropriate firmware into the Arduino, so you don’t even have to work with the Arduino IDE. Plug it in, switch it on, and you’re done. The first-time experience is overwhelming:

The book has a step by step guide on how to link the G8JCF SDR software to the Arduino with the SDR shield on it and running the author’s firmware. The guide takes the form of a little get-u-going exercise to tune the complete setup to 7000 kHz in the 40-m band. Detailed and well explained.
Next comes the installation of SDRsharp – also written as SDR # – for the frequency range 24 MHz to 1800 MHz. Here a little “finger test” on the antenna input is suggested to check if the system is alive and kicking. If okay, proceed to AM reception, that’s “best done in the evening” when MW propagation is favorable.

Practical shortwave reception, and noise combatting
Chapter 2 of the book is a dummy’s guide to shortwave reception. It is a successful and well structured discussion of the pitfalls and oddities you come across as a total newcomer to the wonderous world of long-, medium- and shortwave reception, not just of amateur radio stations in remote places but also of commercial broadcast stations, emergency and utility services, and weatherfax stations. The commonly used “modes” of transmission, CW, AM, and SSB each get a short discussion with a practical example of a station to go with it.
The previous discussion is an excellent basis for the next chapter on noise, its origins and how you should learn to live with it. In chapter 3 I found the discussion of audio noise inherent to the PC’s sound card, an eye opener. There is a practical, well illustrated example of a USB device as the true culprit of extra, unwanted, noise introduced in the SDR system!
Other sources of noise interfering with the SDR discussed briefly in the book include lighting, a DSL router, and power-induced components. I would have liked to see this chapter a little more extensive as newcomers to SDR in particular require a solid understanding of the ways their chief enemy operates.
That antenna!
This chapter I found the most successful way of promoting SDR to a new audience: start at the beginning, with that one radio device you simply cannot replace by a piece of software: the antenna. Through his ser by step discussion of SW reception antenna properties and receiver matching, the author succeeds in curbing the expectations of ‘apartment dwellers’ to pick up signals from the other end of the globe with no more than a piece of wire. That’s a pipe dream, not just because of the antenna’s limited size, but also facing the higher levels of man-made electrical noise in densely populated areas.
Still, we learn in the book that with proper earthing of the antenna, a balun device (balanced-to-unbalanced transformer), and / or using a 75-cents coax braid trap, noise levels can be reduced significantly so the SDR system will not disappoint within a big city and living on, say the first floor of an apartment building.
Loop and rod antennas get prominent discussions in the book, and rightly so because both are great in suppressing electrical noise, and offer some directivity. There are also some suggestions for active antennas though I have to say these are frugal.
Extra functions of the SDR
The project described in the book is not just an SDR. The book has chapters covering its use as a measuring instrument in the electronics lab, a WSPR (“whisper”) transmitter, and even a QRP (low power) transceiver. All three applications are presented in a truly encouraging way and with good “ham spirit”: here are the basics, now add you own ingredients! For instance, a 200-milliwatt transmitter amplifier with a BS170 FET and output signal filtering:

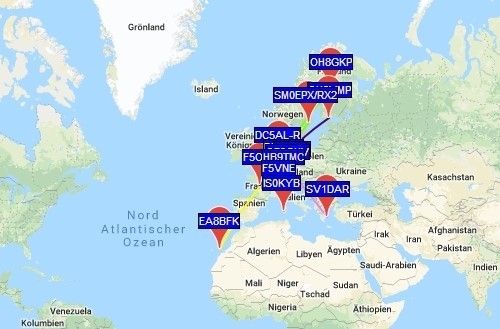
Using WSPR mode on the D + SDR this “dwarf” station proved capable of contacting other stations thousands of miles away:

Conclusion and best 73
The book is a must for everyone wanting to use popular, low-cost elements like Arduino and G8JCF, to enter the fascinating world of shortwave using SDR. The title is spot on. The key benefits of the book are:
- the discussions of your real-world enemy with shortwave radio: noise
- the nice balance of hardware presented by an old hand at electronics, and software you can use without being a computer nerd.
As light criticisms:
- SDR shield hardware on the one hand and the G8JCF / SDR # software on the other, each deserve their own chapter;
- Some discussions could be expanded, eg on the digital modes;
- ditto for network theory;
- ditto for loop and other magnetic antennas.
SDR Hands-on Book
By Burkhard Kainka, DK7JD
134 pages, softbound
ISBN 978-1-90920-76-9

